


How to Brew Coffee with an AeroPress
As a brewing method, the AeroPress is the best of both worlds: designed for clean, full bodied flavor, but faster than pour-over methods like the V60 and Chemex. A longtime favorite of the Tag Coffee team, the AeroPress will deliver great results for both single origins and blends.
What you’ll need:
– AeroPress
– Paper coffee filter (or metal filter)
– Fresh coffee (medium-fine grind)
– Kettle
– Spoon or stir stick
Step 1
Use 20 grams of coffee (about 2 and a half heaping scoops if you’re using the AeroPress scoop). Grind slightly finer than drip—medium-fine, like table salt.
Step 2
Insert the filter into the cap and rinse with hot water (like you should with any pour-over method) to eliminate any paper taste. Attach the cap to the AeroPress and place it over your mug.
Step 3
Pour the ground coffee into the AeroPress chamber. Give it a little shake to level the bed.
Step 4
Start your timer and pour 100 grams of boiling water quickly into the brewing chamber.
Then place the plunger into the top and pull it up slightly—this creates a vacuum and stops the coffee from dripping through. Let the coffee bloom for 45 seconds.
After the bloom, remove the plunger and pour another 210 grams of water in a bit aggressively. You want to make sure all the grounds are soaked and brewing well. Your total pour will be 310 grams.
Step 5
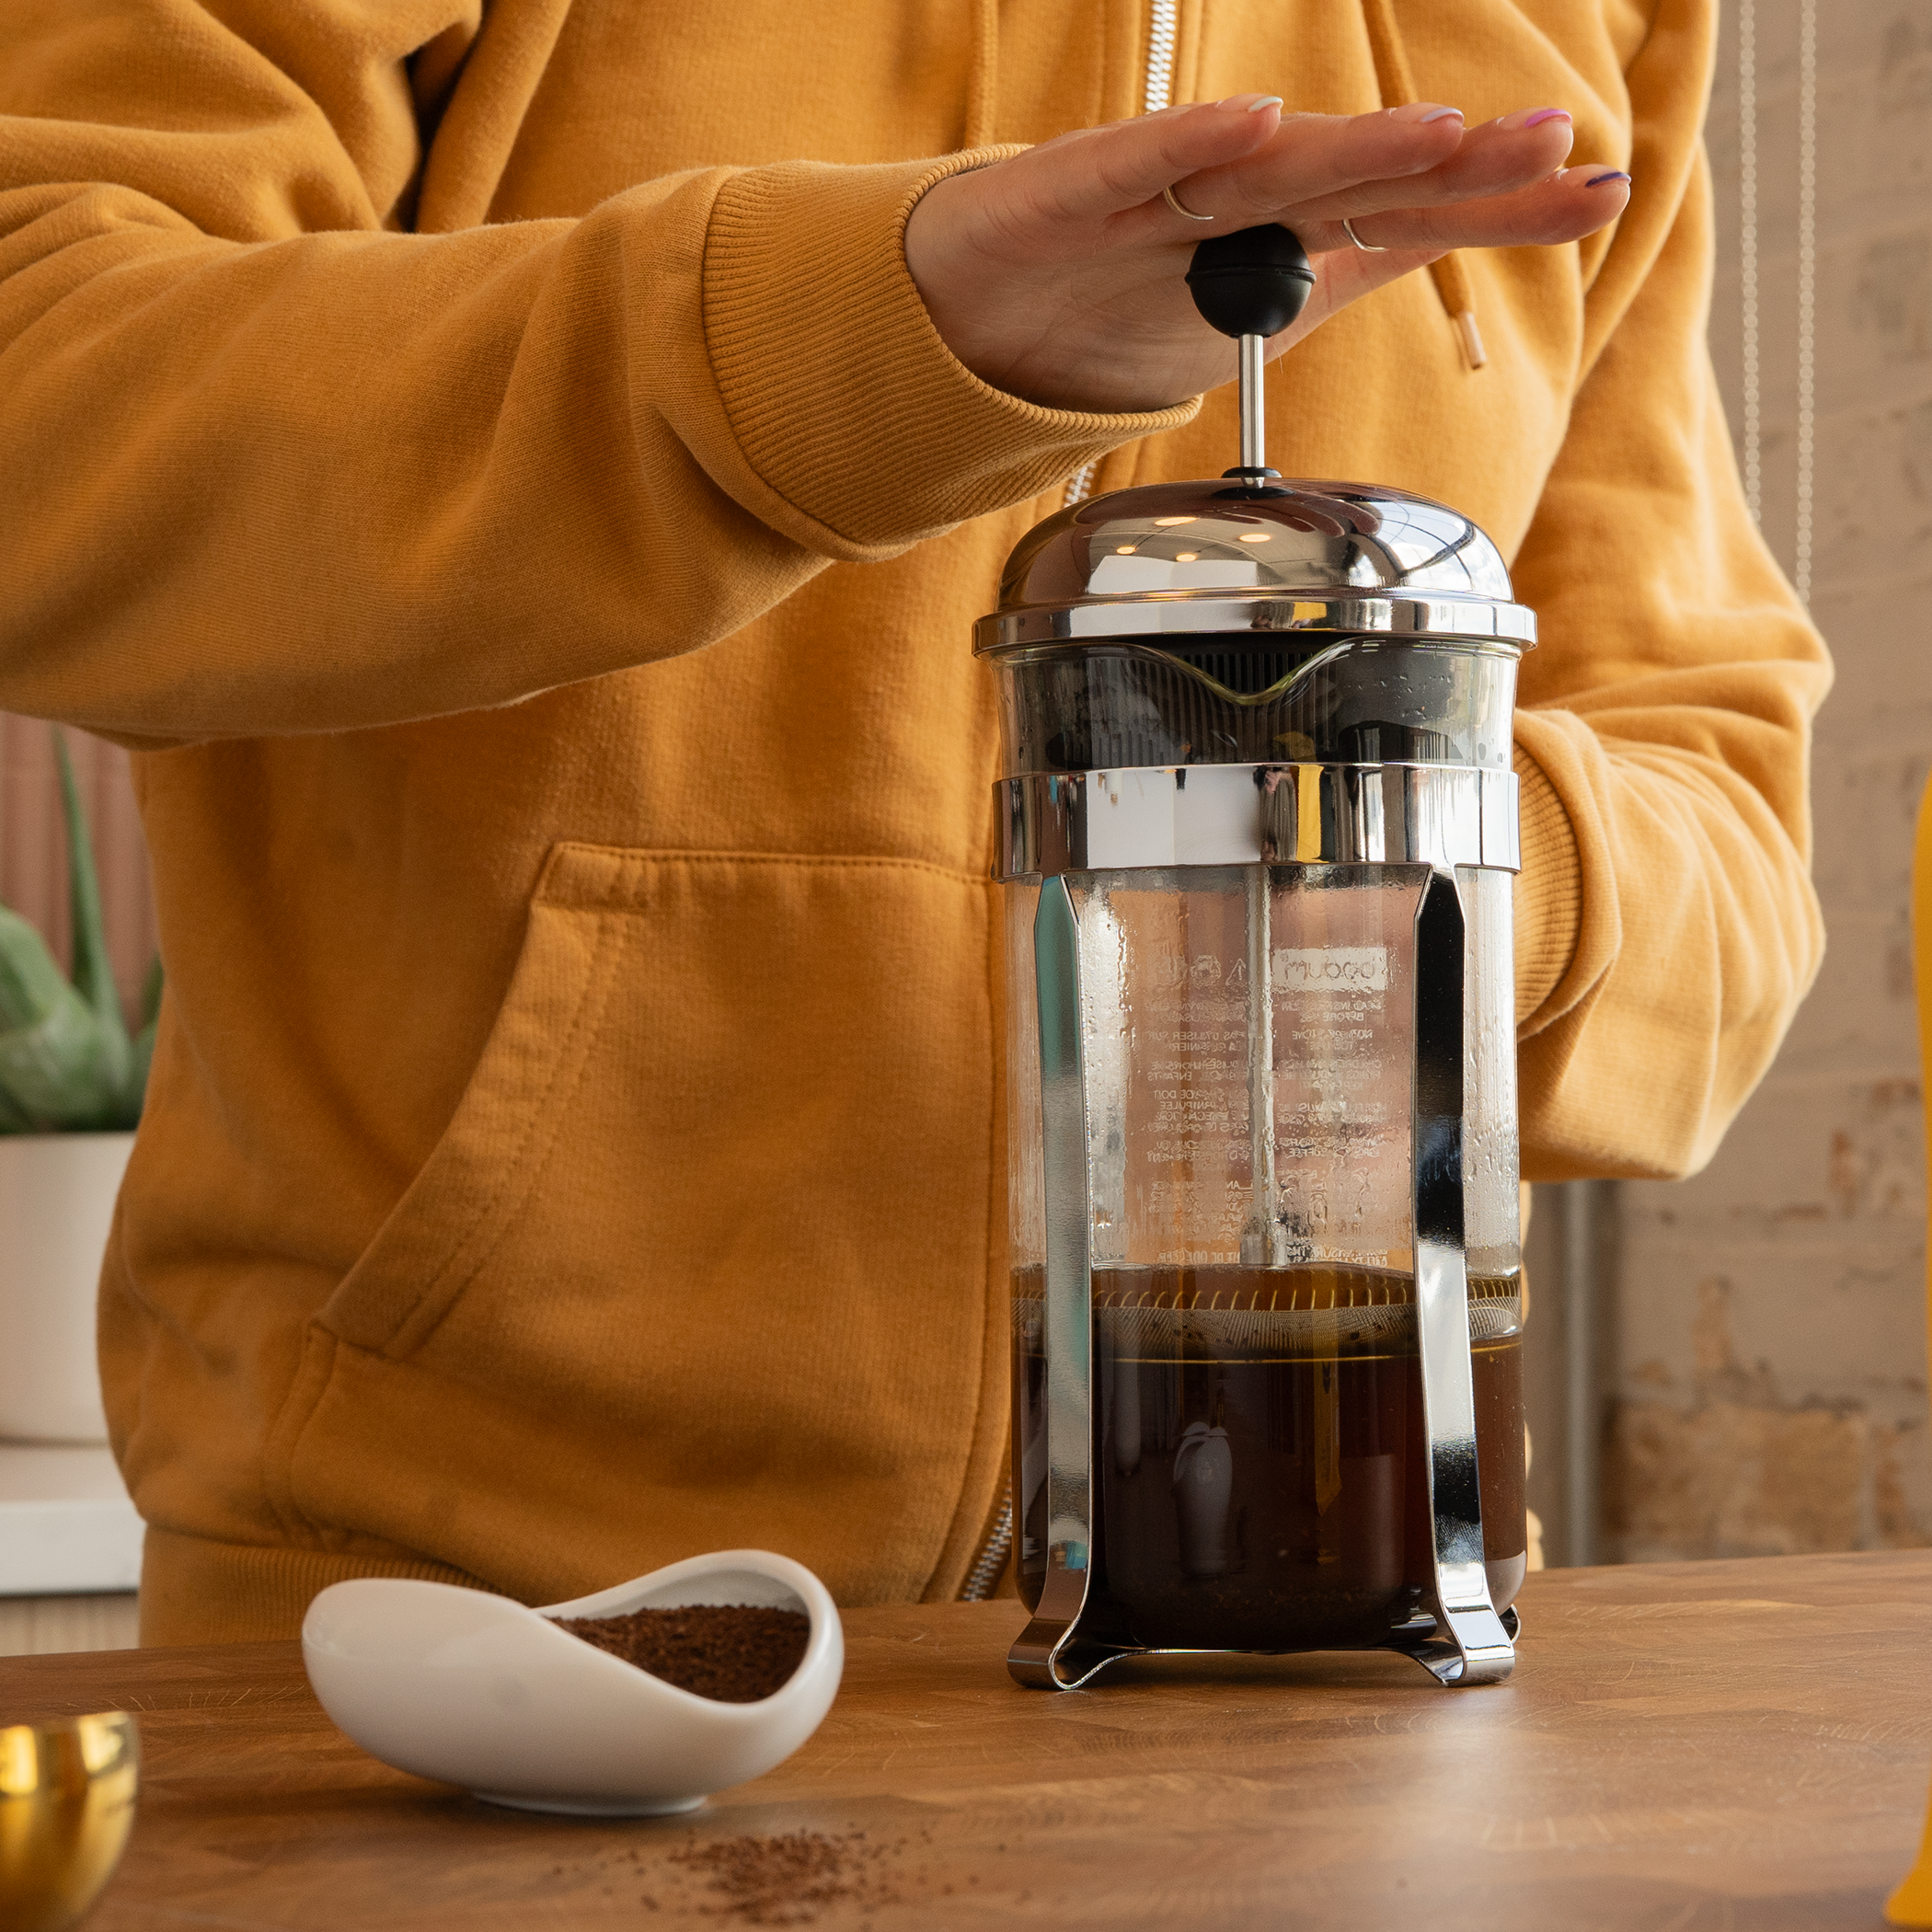
Once you’ve poured all your water, reinsert the plunger at an angle, rotate it flat, then pull up slightly to stop any dripping.
After 2 minutes, take everything off the scale and begin pressing down.
You can use the numbers on the AeroPress as rough time markers—each number takes about 15 seconds to reach:
-
2:15 — You’ll be around number 3
-
2:30 — Number 2
-
2:45 — Number 1
You should finish the press around 3 minutes.
Step 6
Once you hear a hissing sound, pull up on the plunger just a little to stop any last drips. Stir your coffee using a spoon or the back end of your coffee scoop.


